Hello!
I received my HL-15 Fully Built today via FedEx. This post is an attempt to chronicle my unboxing experience.
Packaging
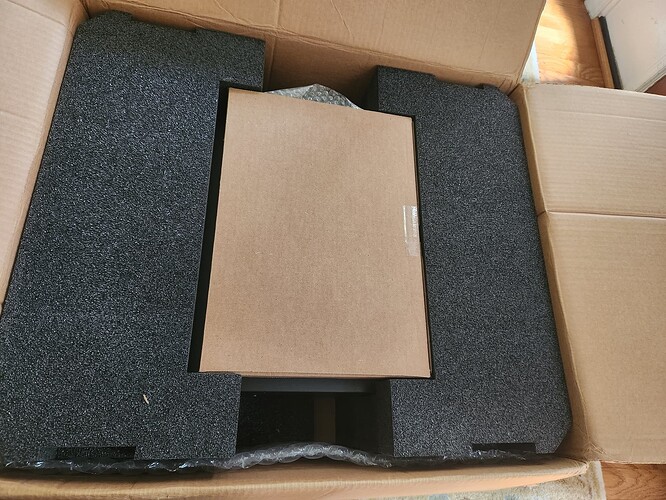
In a stark contrast to their usual efforts, FedEx did a good job with the delivery, and the HL-15 seems to be undamaged. According to the shipping label, this config weighs 43 lbs (19.5 kg.), and the packing box was huge – 28x24x13 inches!
I forgot to snap a picture of this minor issue: The provided Quick Start Guide and reference packing list were sitting loose atop a side flap of the outer box. I almost sliced these with my razor knife – perhaps they should travel safely in that smaller package with the accessories.
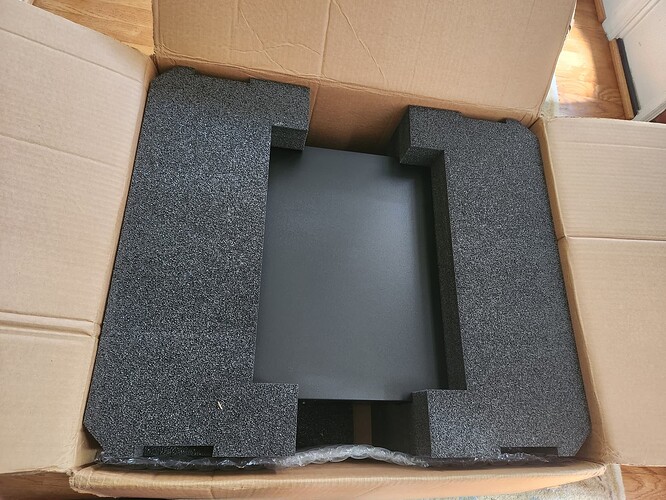
Documents safely out of the way for a moment, I removed the accessory box to reveal the HL-15 system. It was secured with what I’d say is thick, high-quality foam and some bubble wrap on all sides.
With some trepidation, I tipped the hefty box upright to slide the HL-15 out veeeeery slooooowly, lacking a buddy to help lift the thing. (Most of the packing foam fell away in the process, otherwise I’d have taken a picture of that, too.)
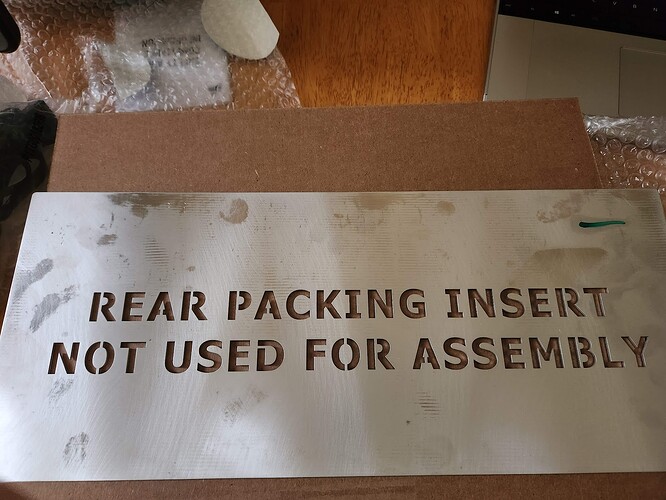
On the inside wall of the box (between the cardboard and another piece of foam) I found an aluminum (aluminium?) plate encased in bubble wrap. The stamped text says
“REAR PACKING INSERT // NOT USED FOR ASSEMBLY” – I might just keep it as a sign. ![]()
Once the HL-15 was standing on its side, I removed the rest of the packaging and stowed it away for future reuse. I had goodies to unbox!
Accessories Included
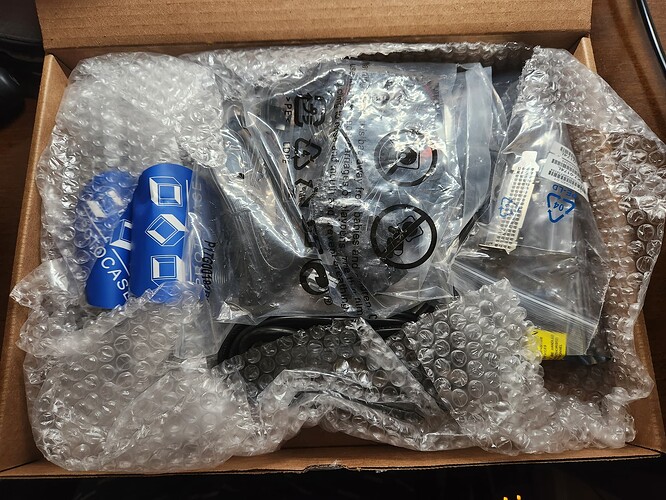
Inside the accessories box, I received:
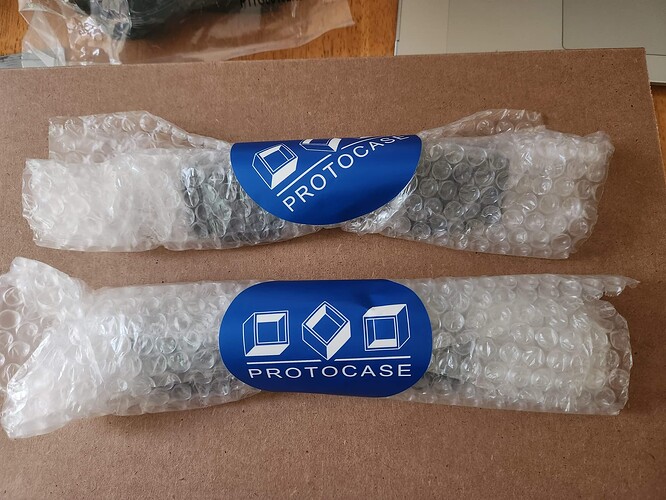
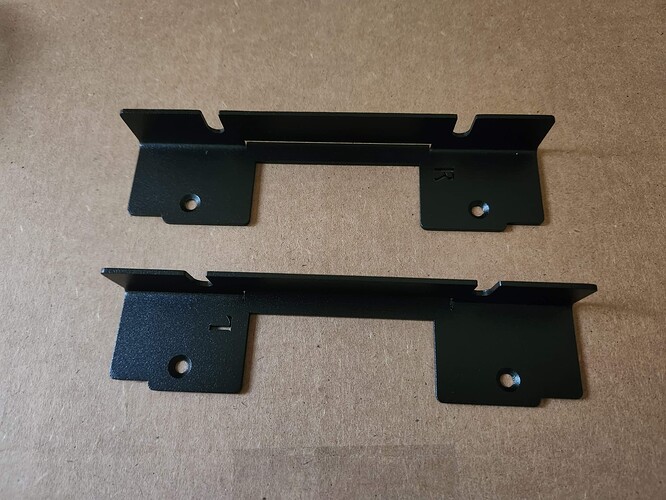
2 x rack ears (black), each individually bubble-wrapped and sealed with a blue and white “protocase” sticker
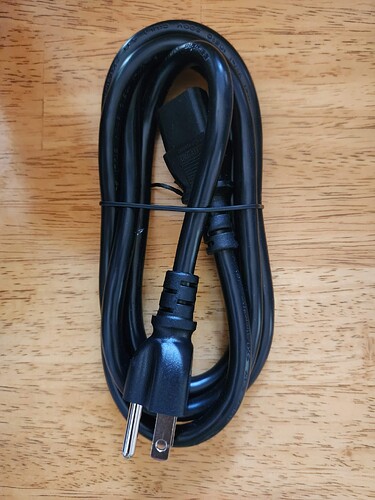
1 x North-American power supply cable for the Corsair RM750e
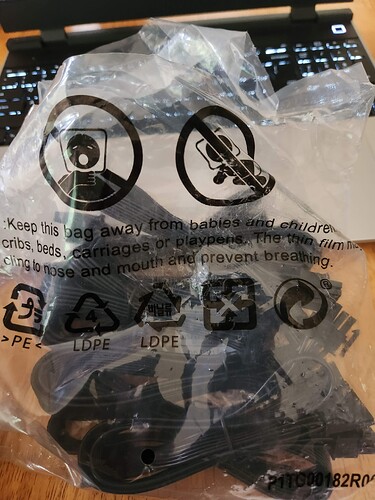
1 x Misc. unused modular cables for the corsair RM750e in a pre-torn bag
1 x Phonebook for ants from Corsair’s lawyers (safety and compliance information for the RM750e)
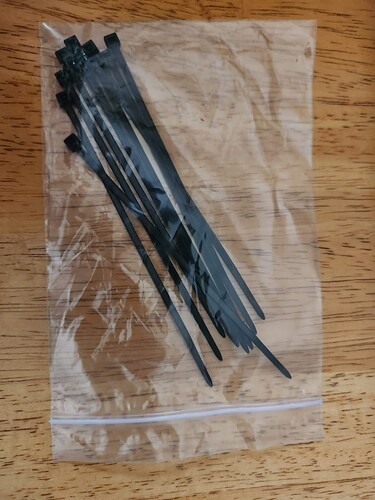
1 x bag of tiny plastic cable ties
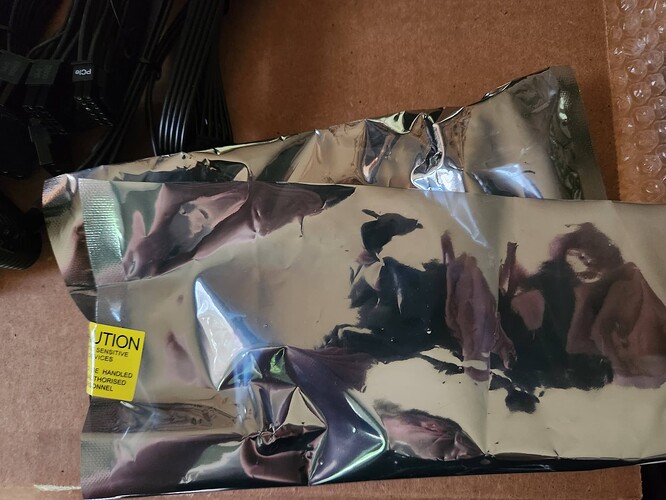
1 x Dual-Slot M.2 NVMe Carrier Card (model AOC-SLG3-2M2). Its anti-static bag was sealed with a sticker reading “Caution: Static sensitive devices. Not to be handled by unauthorized personnel”, which I thought was funny, and a nice change from the usual CA Proposition 65 cancer warning stickers. (Just in case, though, I resisted the urge to lick the PCB – you can never be too careful! ![]() )
)
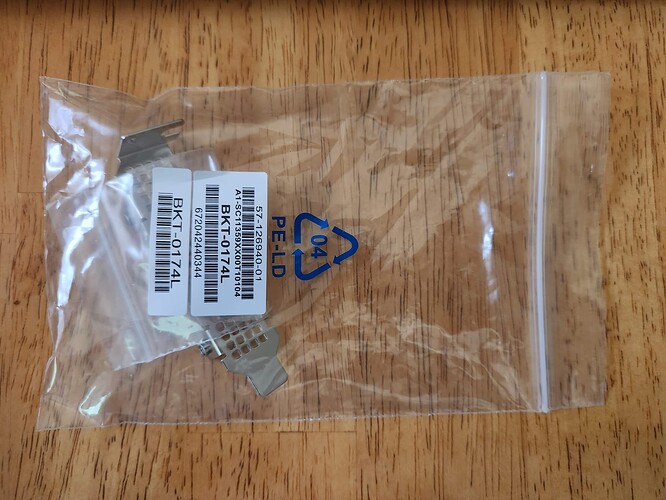
1 x PCIe bracket with Phillips #2 screws (model BKT-0174L), for the M.2 carrier card. BuildOrBuy has an overview of this card on YouTube, and at 11:50, he explains how to install the bracket.
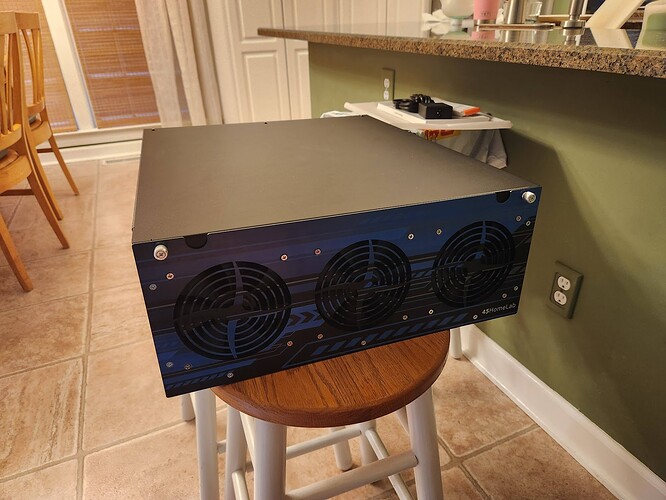
0 x Rubber feet – these were not included with my accessories, nor pre-attached to the chassis. I would also like to see a better guide for where to install the feet on the HL-15. For now, it’s propped up on a couple of bar stools. ![]()
Chassis
I ordered the fully built HL-15 in black, and with the standard blue accents on the faceplate, this machine looks awesome! ![]()
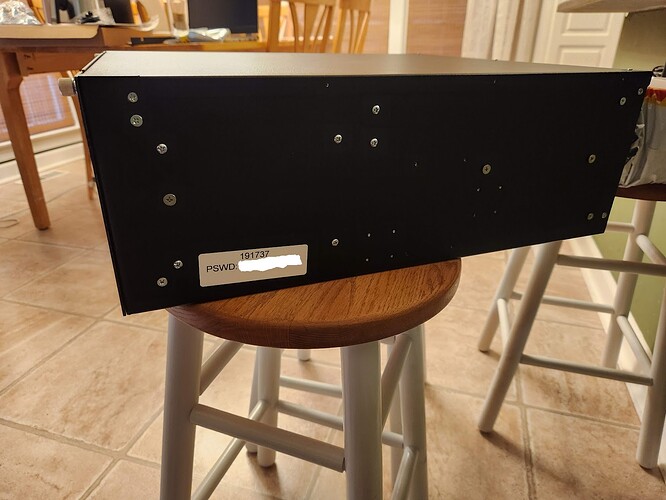
Accompanying the rack rail mounts on the right side, there was a mysterious sticker with some number and “PSWD” followed by what might be a password (censored) on it.
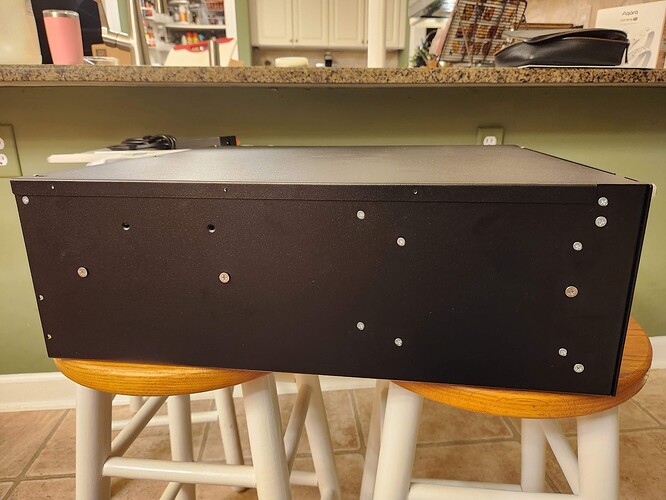
Moving to the left, there were more screws and mount points for the rack rails.
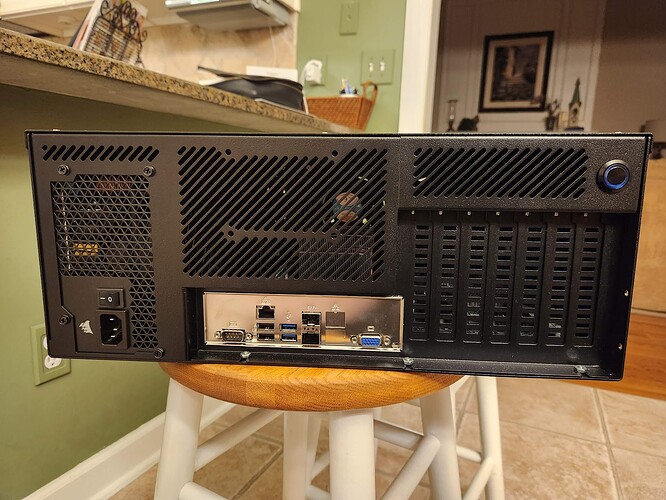
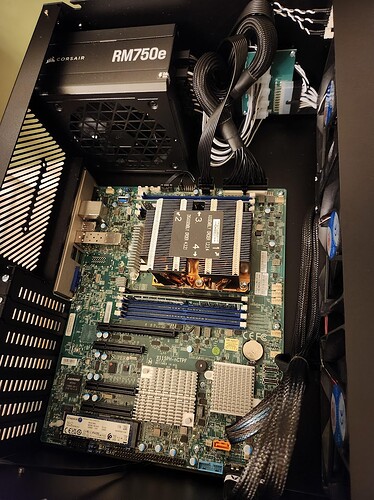
At the rear, there was the RM750e power supply, the Supermicro X11SPH-nCTPF motherboard I/O, seven PCIe slot covers, and an illuminating power button.
Peeking inside
Opening the HL-15 to add drives or do basic maintenance tasks was very straightforward, and only required me to remove the top panel. The HL-15 has two captive knurled thumbscrews on the front (in the upper corners), which I loosened.
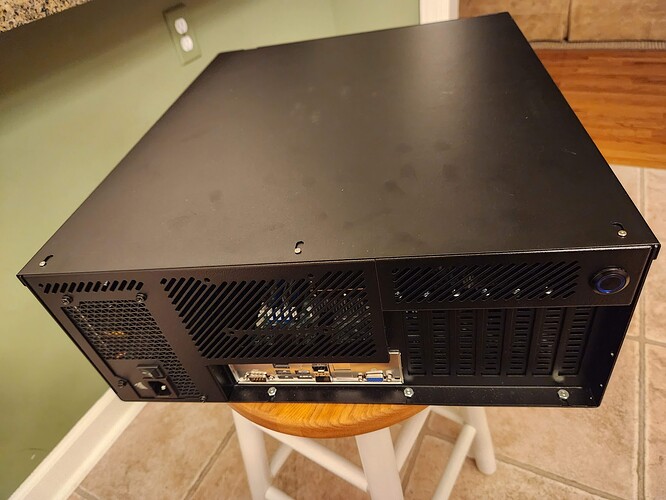
In addition to its primary purpose as a fingerprint magnet, the top panel rear of the HL-15 also had three “keyhole” slots – I slid the top panel backward until the pin was aligned with the larger hole and lifted the top to remove it.
Everything looked nice and tidy inside. ![]()
I am very satisfied with the fit and finish, and how everything arrived in one piece. Stay tuned for my initial setup with 45Drive’s Houston UI. ![]()
