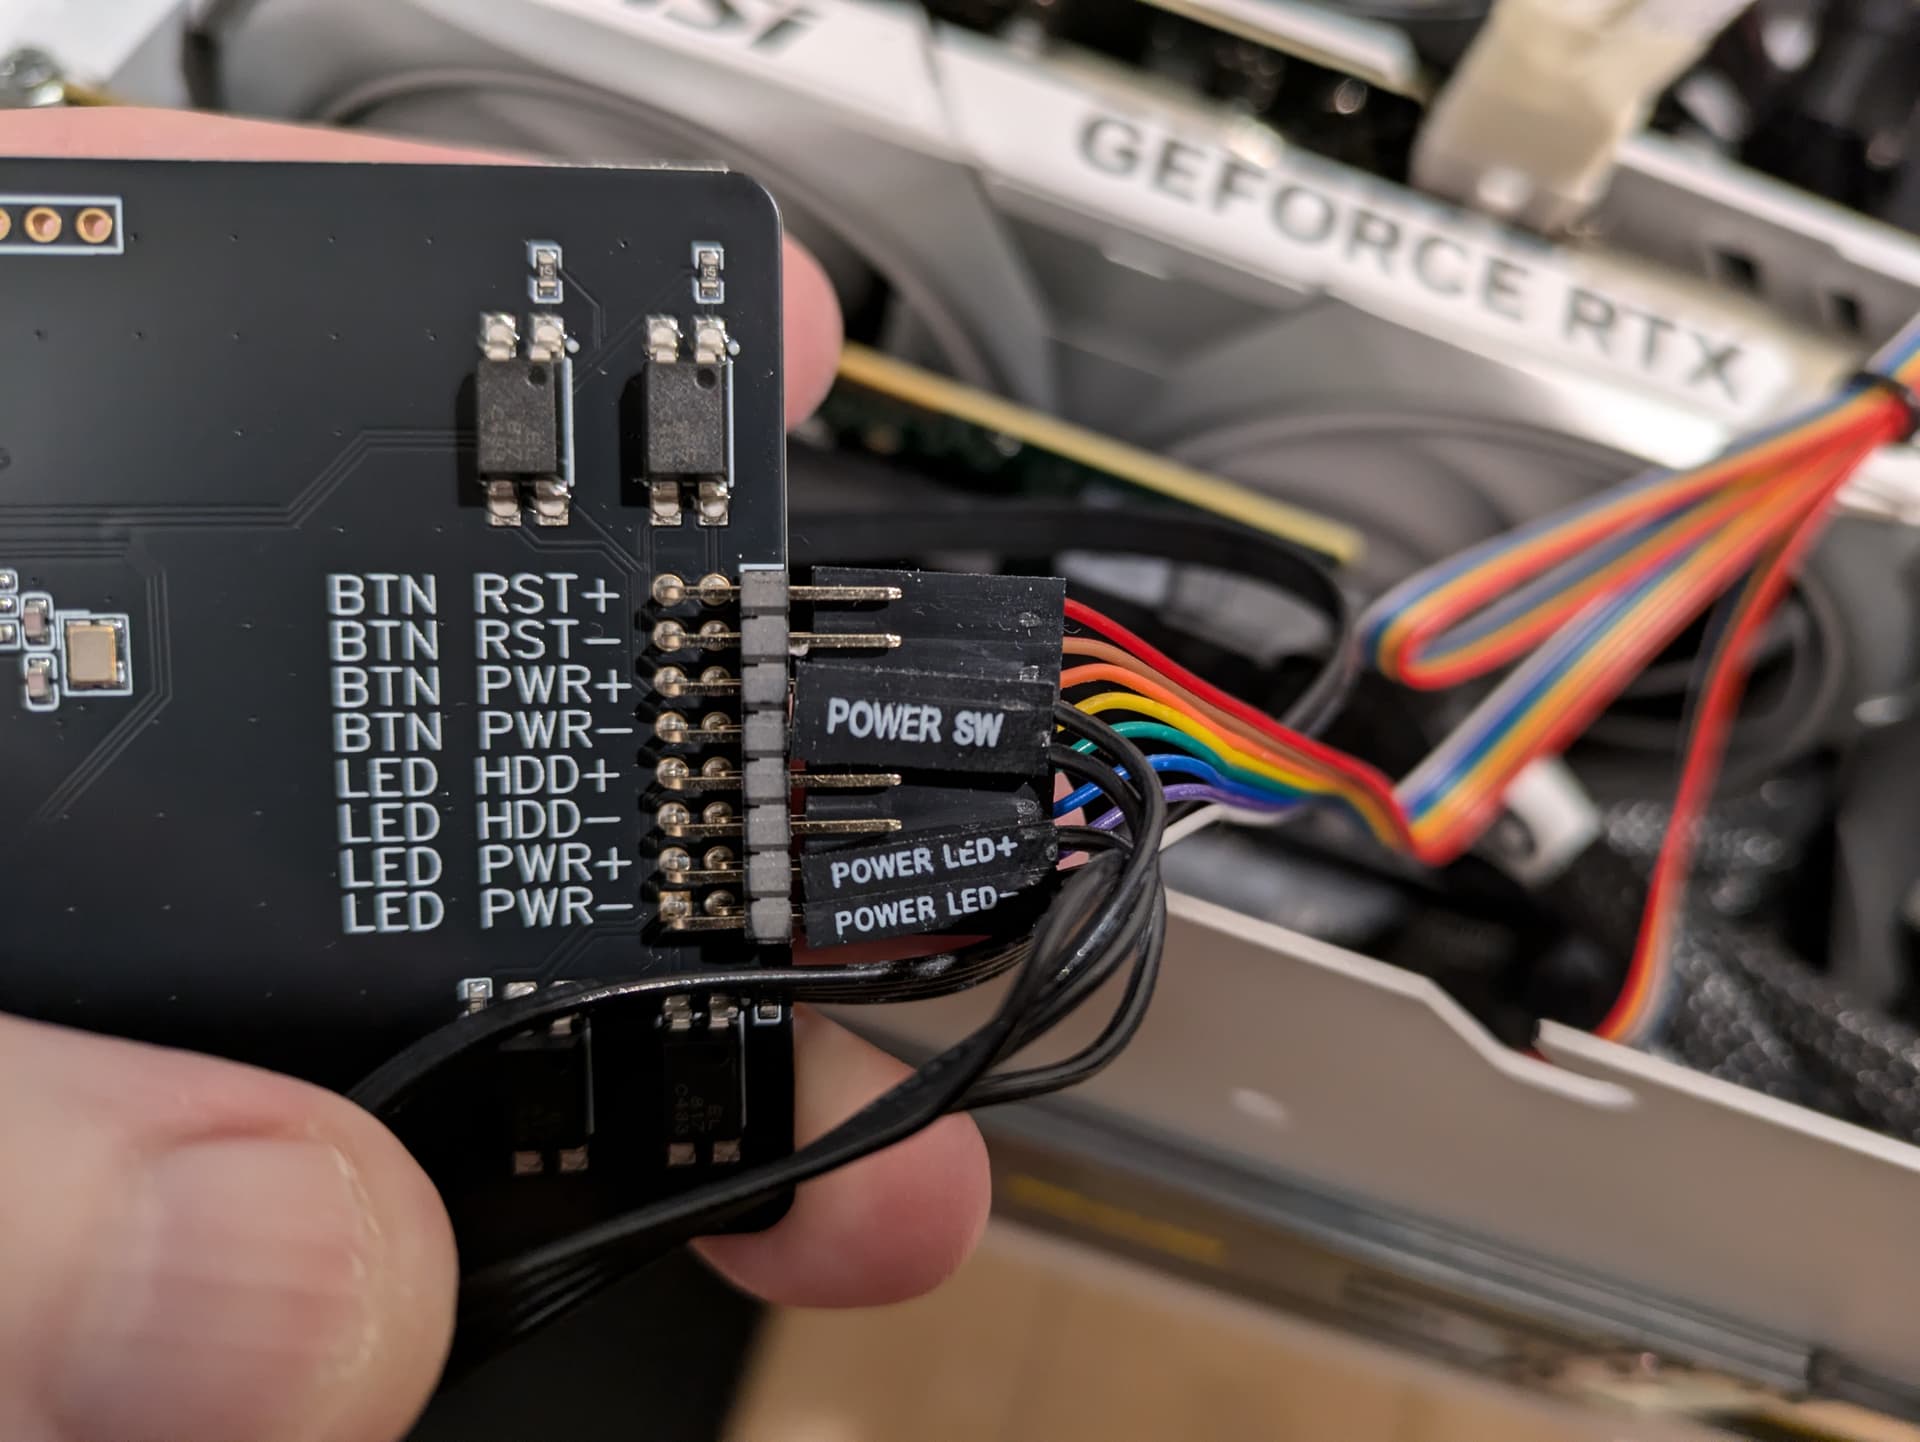
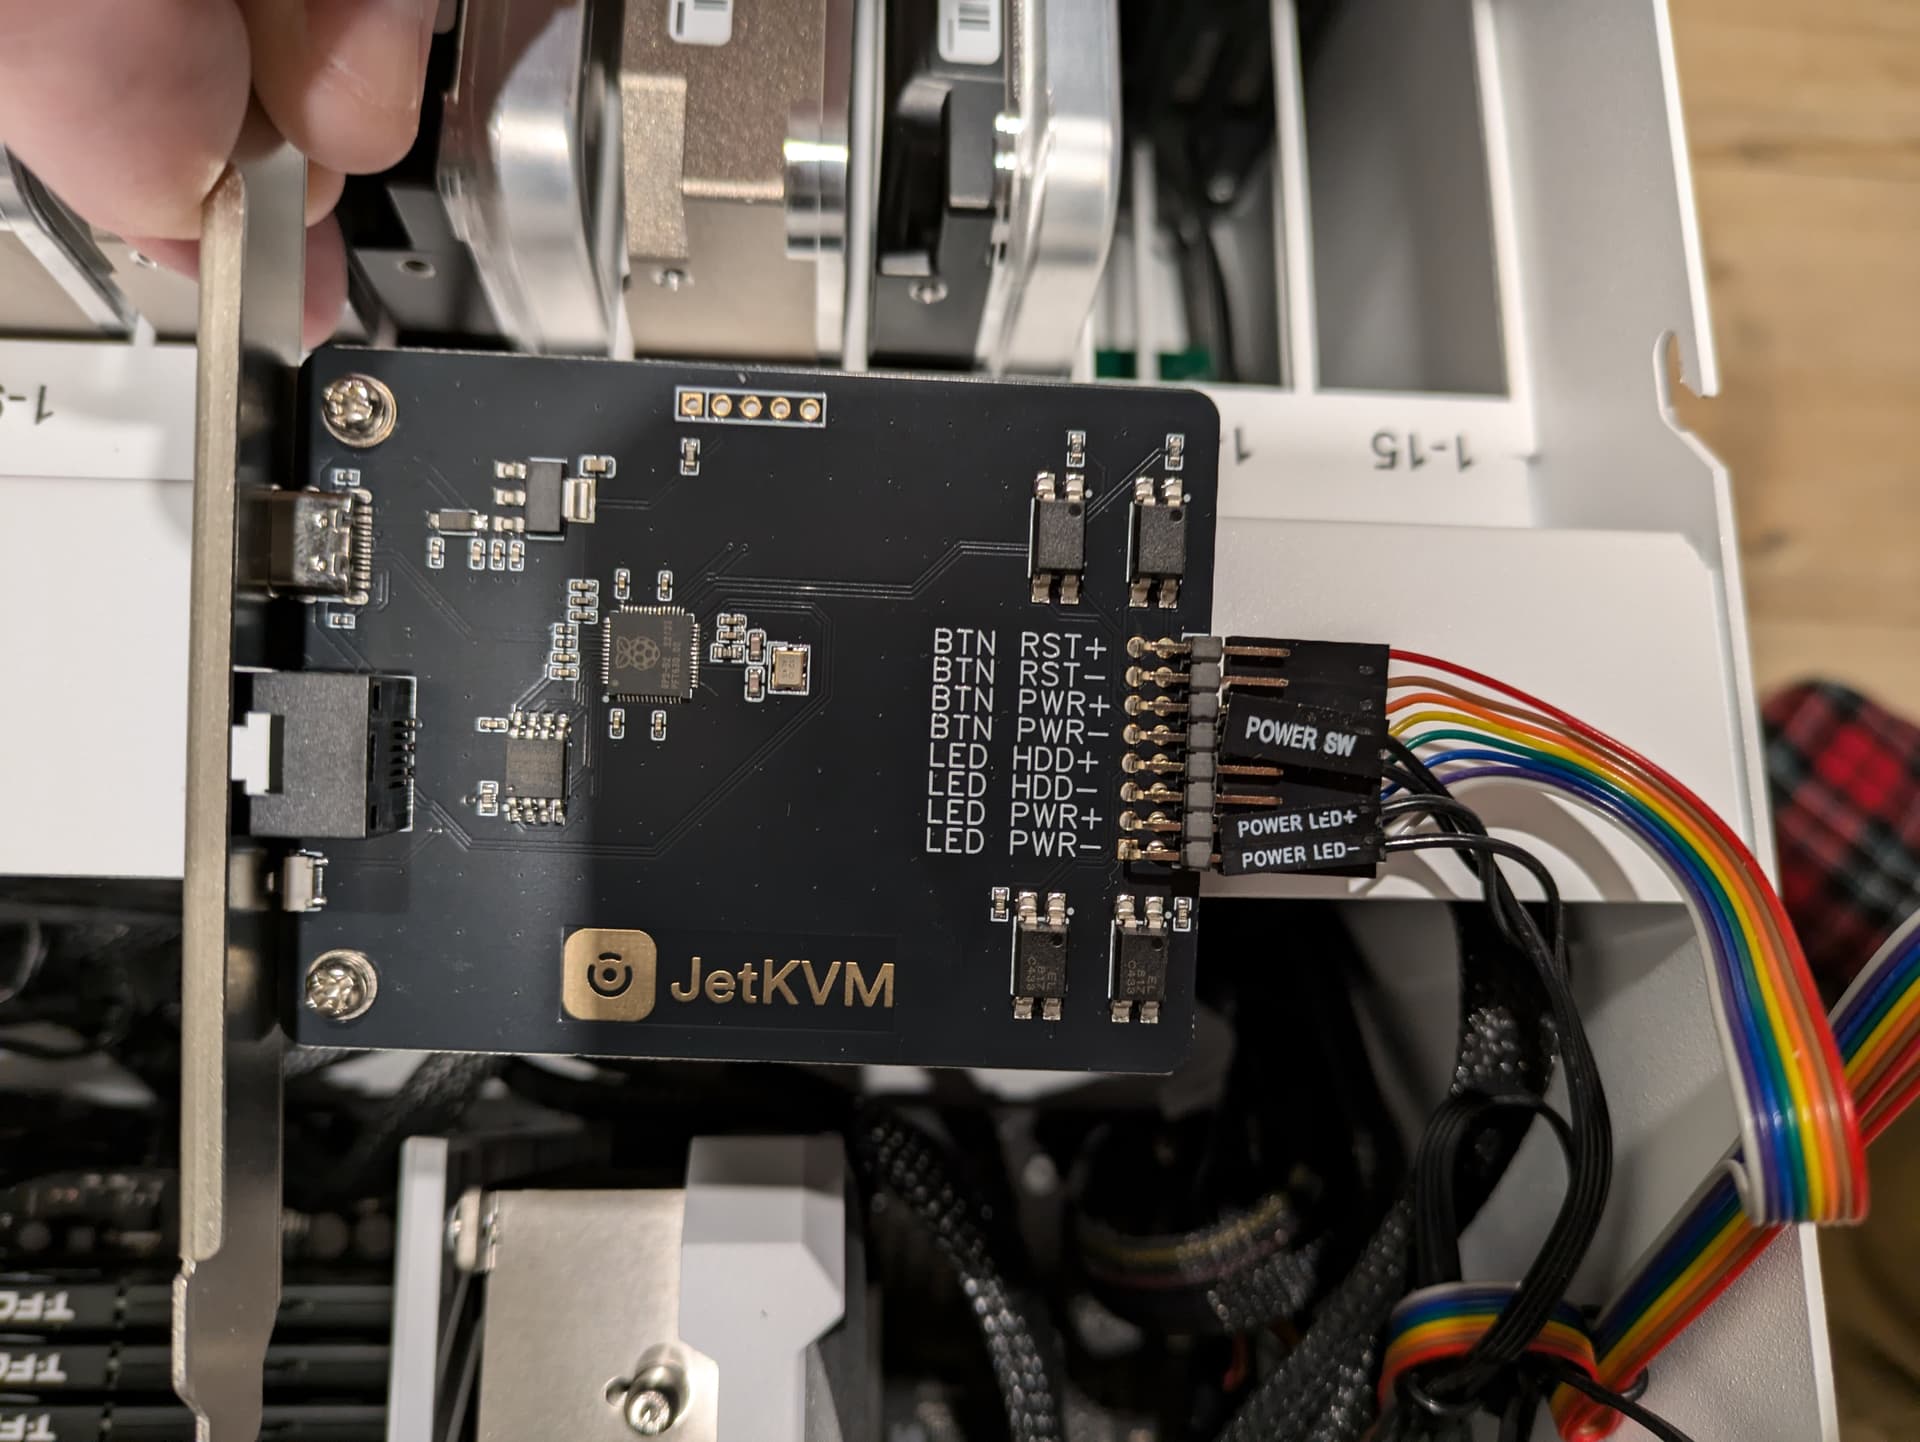
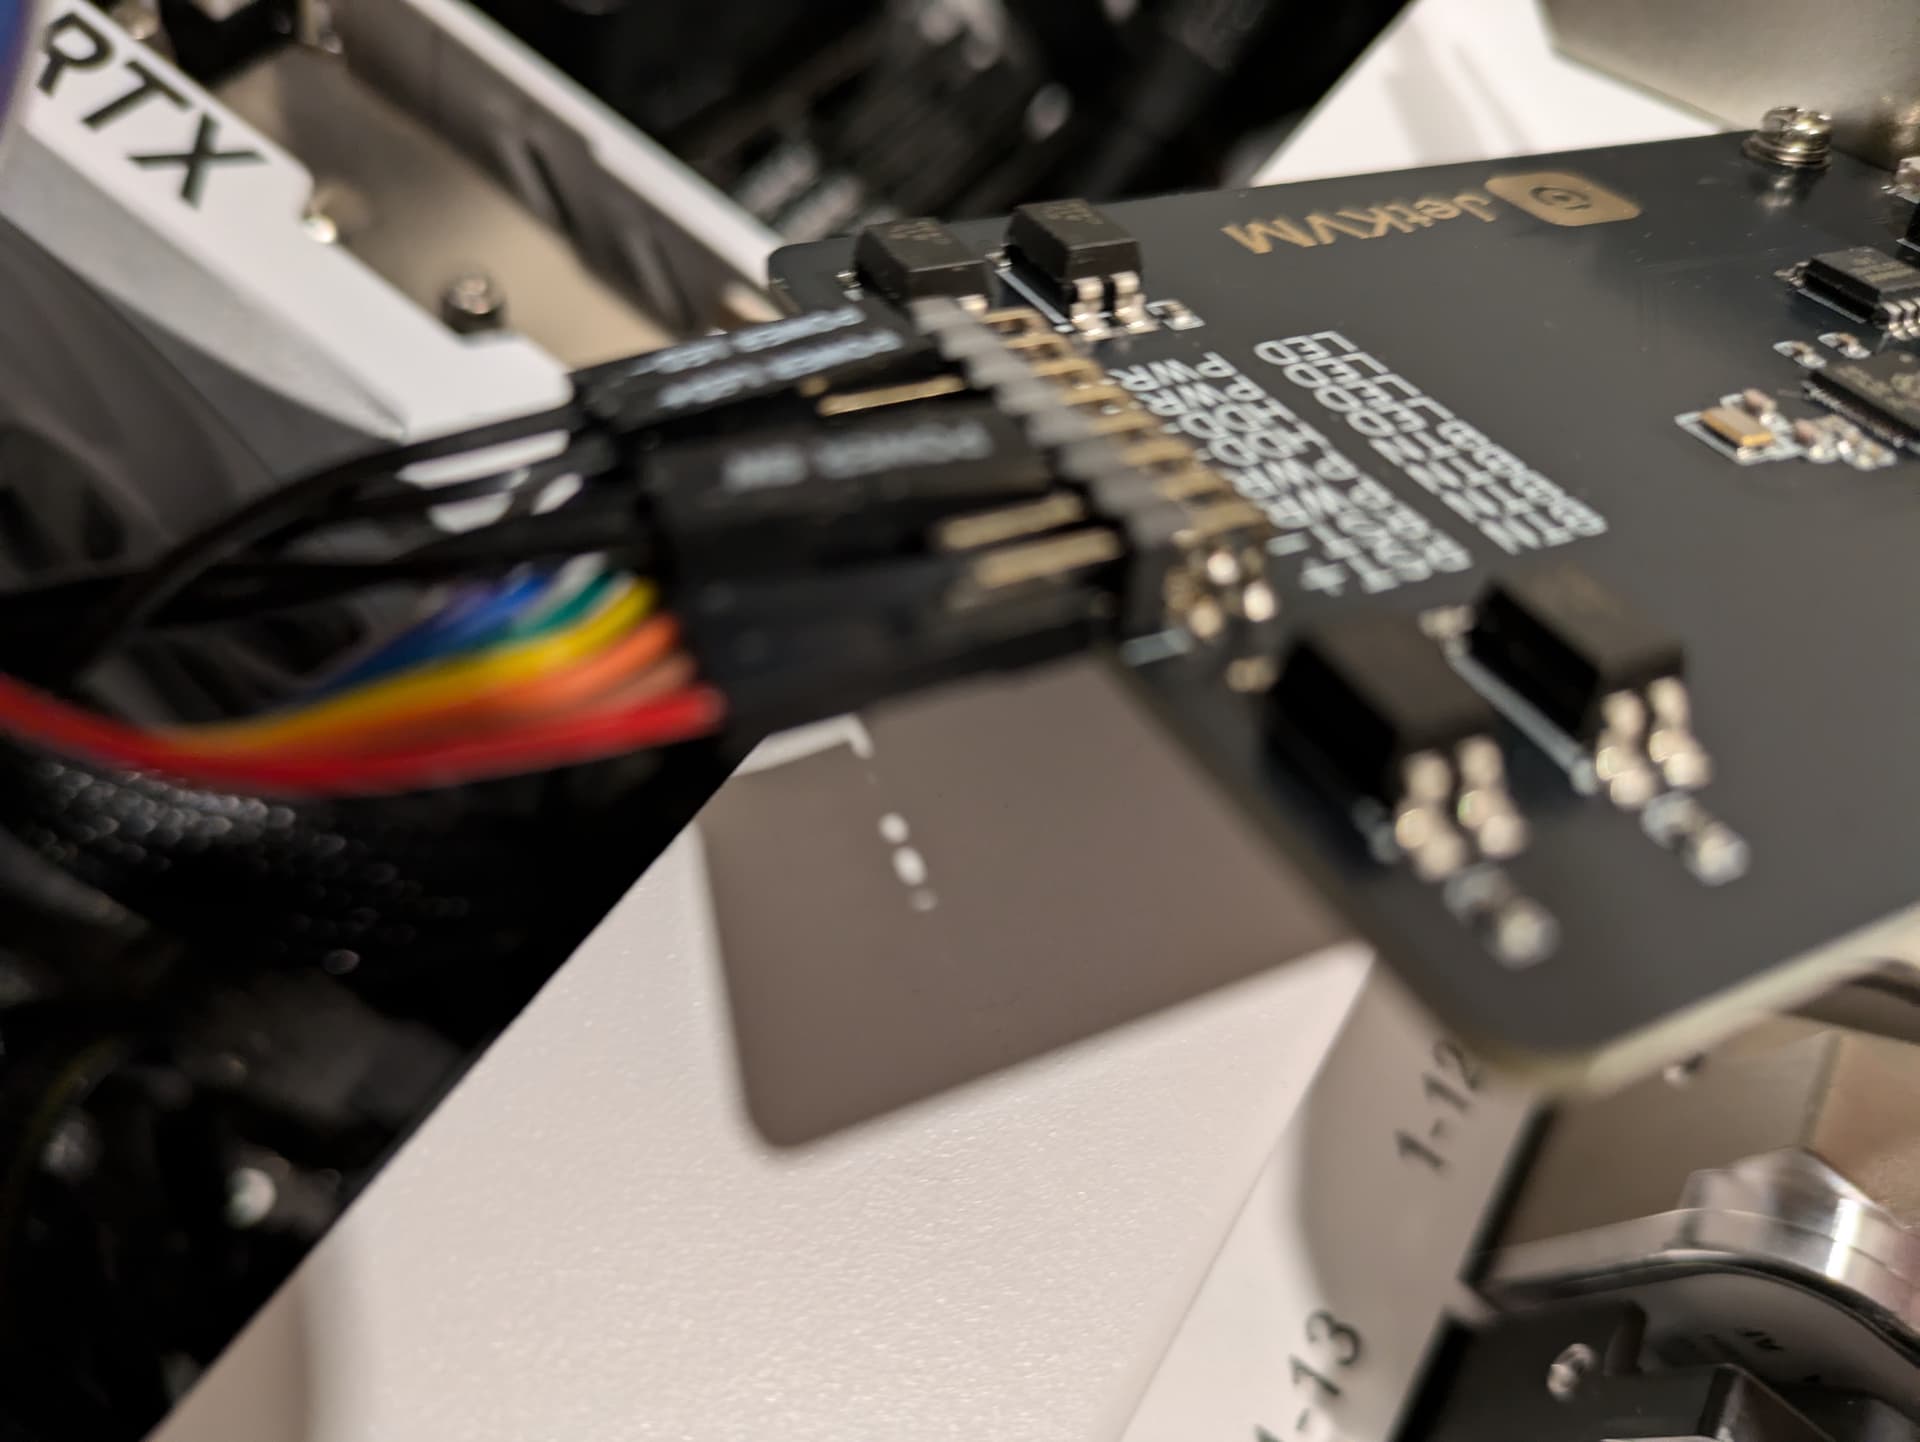
I chipped in some $$ to the kickstarter for a pair lust the button pushing boards. I never did figure out how to install the button push boards. They go in a PCI slot. An RJ-11 pigtail connects to the JetKVM and contact closure is simulated for the power button and some other of the standard front panel stuff.
I’ve been putting the two to good use for restarts and using the console to set up RDP – the XFCE login works. Gnome login also works if you switch to it.
Following Jeff is getting expensive. He and Chris Craft sold the HL4 to me.
How far did you get? I got mine working. The thing that held me up was although power buttons don’t typically have + and -, the board is sensitive to which way around the wires for that are connected to the motherboard..
I’ve had low vision since birth. I use my smartphone’s camera when necessary to help magnify small print. My Android will do 8x and I can either use it in live view or snap a still for reference.
Yes it does. There are two rows of header pins on the right, one above the other. You connect the included ribbon cable to one set and the pins from the chassis to the other set. When it’s hooked up correctly you can use either the physical button or the JetKVM UI to turn the machine on/off.
To plug into the motherboard header after the machine is built and there are cables and PCIe cards in the way, I’ll put the female ends from the chassis together per the front header diagram in the manual and then use a piece of electrical tape to hold them together for insertion as a group.